How to Get a Shopify Access Token for Postman
Postman is one of the most popular API testing and development platforms available today. If you're looking to integrate with the Shopify API using Postman, you'll need a valid Shopify access token to authenticate your requests. This comprehensive guide will walk you through everything you need to know about obtaining and using Shopify access tokens with Postman in 2026.
Whether you're a developer building custom Shopify applications, testing store functionality, or automating workflows, understanding how to properly configure Shopify API with Postman is essential. In this guide, we'll cover both the quickest method and the traditional manual OAuth approach, ensuring you can choose the path that works best for your needs.
What You Need
- A Shopify Store: You'll need access to a Shopify store (development or live store) where you have admin privileges or can create a custom app
- Postman Application: Download and install Postman from postman.com (available for Windows, macOS, and Linux)
- Shopify Admin Account: Admin-level access to your Shopify store's backend
- Basic API Knowledge: Understanding of REST APIs and HTTP methods (GET, POST, PUT, DELETE) is helpful
- Store URL: Your Shopify store's API endpoint URL (typically https://yourstore.myshopify.com/admin/api)
- A Text Editor: For managing tokens and configuration securely
- Access to getshopifytoken.com: For the quick method (recommended)
Quick Method (Recommended)
The fastest and most straightforward way to get a Shopify access token for Postman is using https://getshopifytoken.com. This method eliminates the complexity of manual OAuth flows and gets you up and running in minutes.
- Visit the Website: Navigate to https://getshopifytoken.com in your web browser
- Enter Your Store Information: Input your Shopify store URL (e.g., mystore.myshopify.com) in the designated field
- Select Required Scopes: Choose the specific API scopes you need for your Postman requests. Common scopes include:
- read_products / write_products
- read_orders / write_orders
- read_customers / write_customers
- read_inventory / write_inventory
- Click "Generate Token": The platform will initiate the authentication process
- Authorize the Application: You'll be redirected to your Shopify store where you need to log in and grant permission
- Copy Your Token: Once authorized, your access token will be displayed. Copy it immediately and store it securely
- Add to Postman: Paste the token into Postman's Authorization tab (Bearer token type)
Pro Tip: Store your token in Postman's environment variables rather than hardcoding it into requests. This keeps your token secure and makes it easy to switch between different environments (development, staging, production).
Manual OAuth Method
If you prefer to handle the OAuth flow manually or need more control over the process, you can create a custom app in your Shopify store and generate an access token directly. This method is more involved but provides greater transparency and control.
Step 1: Create a Custom App in Shopify
- Log in to your Shopify admin dashboard
- Navigate to Settings → Apps and Integrations
- Click "Develop apps" or "Create an app"
- Enter your app name (e.g., "Postman API Testing")
- Select your preferred developer account if prompted
- Click "Create app"
Step 2: Configure Admin API Scopes
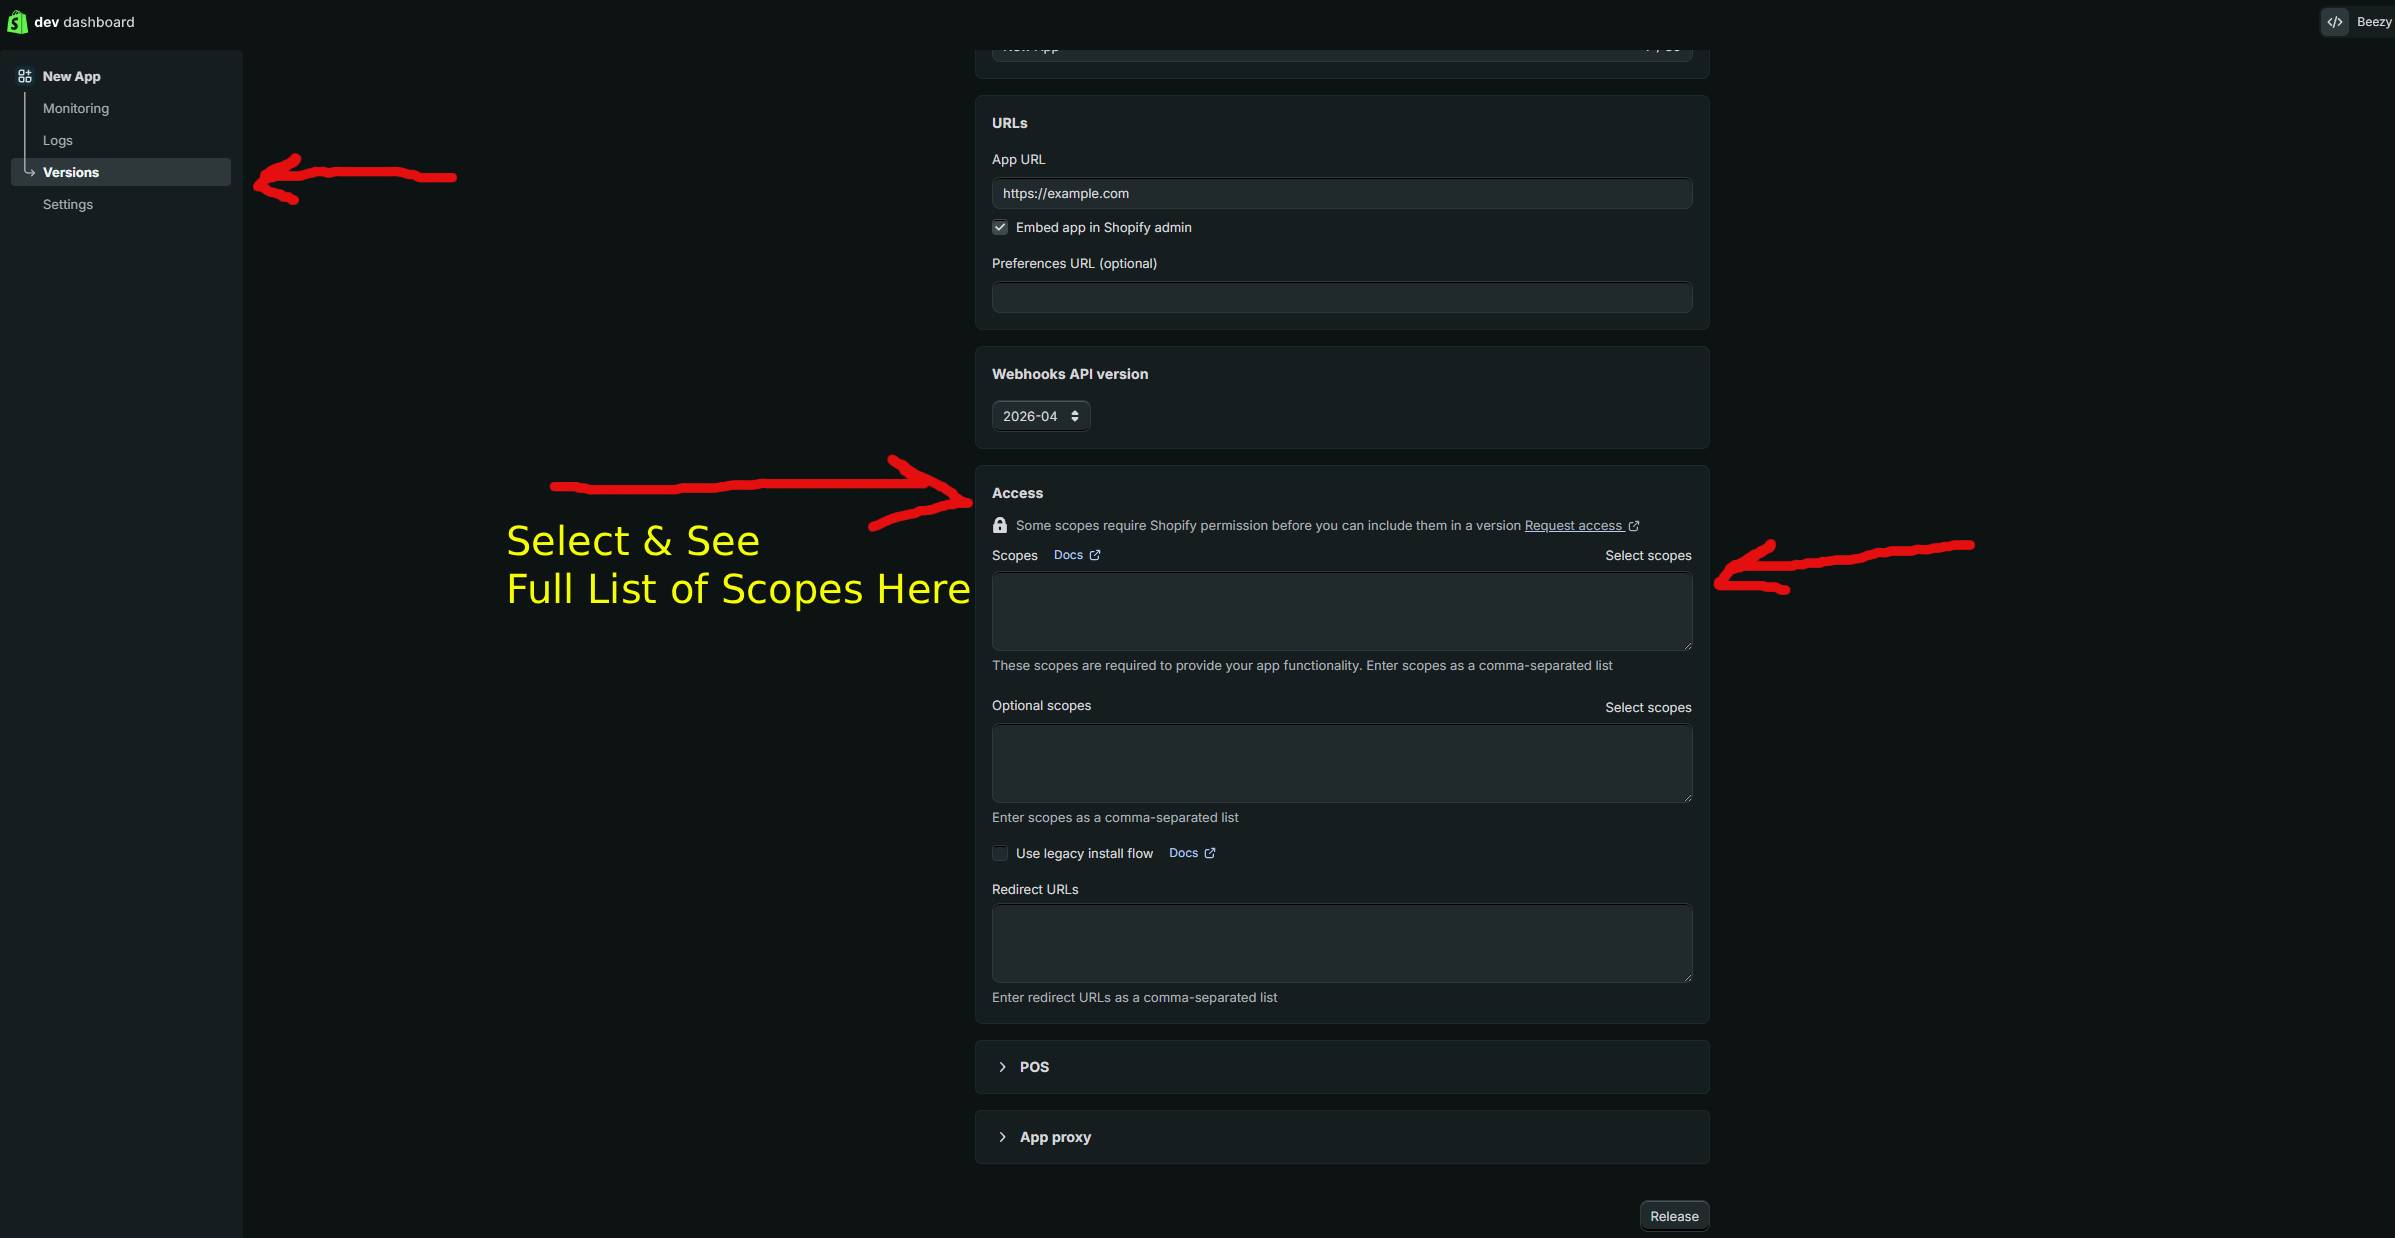
- In your app settings, go to the "Configuration" tab
- Scroll to "Admin API access scopes"
- Check the boxes for scopes you need (details in the Required Scopes section below)
- Click "Save"
Step 3: Generate Your Access Token
- Navigate to the "API Credentials" tab
- Under "Admin API access token," click "Reveal token"
- Copy the token carefully—you won't see it again in full without regenerating
- Store it securely (use environment variables or a secrets manager)
Step 4: Make Your First API Call in Postman
Now that you have your token, you're ready to make API requests. Here's how to set up your first request:
curl --location 'https://yourstore.myshopify.com/admin/api/2024-01/graphql.json' \
  --header 'X-Shopify-Access-Token: shpat_your_access_token_here' \
  --header 'Content-Type: application/json' \
  --data '{"query":"query { shop { name products(first: 10) { edges { node { id title } } } } }"}'
In Postman, translate this as follows:
- URL: https://yourstore.myshopify.com/admin/api/2024-01/rest/products.json
- Method: GET (for retrieving data) or POST (for creating data)
- Headers Tab:
- Key: X-Shopify-Access-Token
- Value: shpat_your_access_token_here
- Click Send: Postman will execute the request and display the response
Connecting Your Token to Postman
After obtaining your Shopify access token, properly configuring it in Postman is crucial for successful API calls.
Method 1: Using Environment Variables (Recommended)
- In Postman, click the "Environments" icon on the left sidebar
- Click "Create New" → "Environment"
- Name your environment (e.g., "Shopify Production")
- Add a new variable:
- Variable Name: shopify_token
- Initial Value: Your access token
- Current Value: Your access token
- Add another variable for your store URL:
- Variable Name: store_url
- Initial Value: https://yourstore.myshopify.com
- Click "Save"
- Select your environment from the environment dropdown (top-right)
Method 2: Bearer Token in Authorization Tab
- Open any request in Postman
- Click the "Authorization" tab
- Select "Bearer Token" from the Type dropdown
- Paste your token in the Token field
- This applies to this request and all child requests in the folder
Method 3: Custom Headers
- Click the "Headers" tab in your request
- Add a new header:
- Key: X-Shopify-Access-Token
- Value: {{shopify_token}} (if using environment variables)
- Repeat for each request or create a collection-level header
Required Scopes for Postman
The scopes you need depend on what API endpoints you plan to test. Here are the most common scopes for Postman testing:
| Scope | Purpose |
|---|---|
| read_products | Read product information, variants, and details |
| write_products | Create, update, and delete products |
| read_orders | Retrieve order data and order details |
| write_orders | Create and modify orders, fulfill items |
| read_customers | Access customer information and data |
| write_customers | Create, update, and delete customer records |
| read_inventory | View inventory levels and stock status |
| write_inventory | Update inventory quantities and locations |
| read_fulfillments | Read fulfillment and tracking information |
| write_fulfillments | Create and manage fulfillments |
| read_analytics | Access store analytics and reporting data |
| read_content | Read pages, blogs, and content |
| write_content | Create and modify pages and blog content |
Best Practice: Only request the scopes you actually need. This follows the principle of least privilege and enhances security.
Troubleshooting
- 401 Unauthorized Error: Your access token is missing, expired, or invalid. Verify you're using the correct token and that it hasn't been revoked. Check that it's properly placed in the Authorization header.
- 403 Forbidden Error: Your token lacks the required scopes for that endpoint. Review your app's scopes and ensure you have permission for the operation you're attempting.
- 404 Not Found Error: The API endpoint URL is incorrect. Double-check your store URL, API version, and endpoint path match Shopify's documentation.
- 429 Too Many Requests: You've exceeded Shopify's rate limits. Implement exponential backoff and throttle your requests to 2 calls per second.
- Token Not Working After Creation: If you just created the token, wait a few seconds for it to propagate across Shopify's systems before using it.
- Cannot See Token After Generation: Shopify only displays the token once. If you missed copying it, regenerate the token in your app settings.
- Environment Variables Not Resolving: Ensure you've selected the correct environment in Postman's dropdown. Check that variable names match exactly (they're case-sensitive).
- CORS Error When Testing from Browser: Postman desktop app doesn't have CORS restrictions, but if using web version, this indicates a cross-origin issue. Use Postman desktop instead.
- Invalid Scope Error: Verify scope names are correct and separated by commas. Check against current Shopify API documentation for your API version.
- Token Stops Working Unexpectedly: Your app might have been deleted or the token revoked. Regenerate a new token or create a new custom app.
Frequently Asked Questions
Q: How long does a Shopify access token remain valid?
Shopify access tokens don't expire by default—they remain valid indefinitely until you manually revoke them through the app settings or delete the custom app entirely. However, it's best practice to rotate tokens periodically and revoke old ones for security purposes. If you notice unusual activity, you can regenerate your token immediately.
Q: Can I use the same token across multiple Postman requests?
Yes, absolutely. In fact, it's recommended to use environment variables to store your token once and reference it across all requests. This approach keeps your token centralized, makes it easy to update if needed, and helps maintain security by avoiding token duplication across requests.
Q: What's the difference between REST API and GraphQL in Shopify, and which should I use in Postman?
Shopify offers both REST and GraphQL APIs. REST is simpler for beginners and works well with Postman's standard interface (using GET, POST, PUT, DELETE methods). GraphQL is more powerful and flexible but requires sending JSON queries in the request body. For Postman, REST endpoints are typically easier to work with, but both are fully supported. The choice depends on your specific needs and preference.
Q: Is it safe to share my Shopify access token with team members?
No—treat your access token like a password. Never share it via email, chat, or version control systems. Instead, use Postman's team collaboration features with proper access controls, or create separate custom apps and tokens for different team members. This way, you can track who made which API calls and revoke individual tokens without affecting others.
Q: How do I know which API version to use in my Postman requests?
Shopify releases new API versions quarterly. The URL structure typically looks like: https://yourstore.myshopify.com/admin/api/2024-01/rest/products.json. You can use the latest stable version (recommended) or specify an older version if needed. Check Shopify's API documentation for the current supported versions and deprecation timelines.
Q: What should I do if I accidentally expose my access token?
Immediately revoke the token by going to your Shopify admin → Settings → Apps and Integrations → your app → API Credentials → regenerate token. This invalidates the old token instantly. Generate a new token and update your Postman configuration. Consider enabling audit logging to monitor what was accessed with the exposed token.
Q: Can I test Shopify API calls in Postman before implementing them in my app?
Absolutely—that's one of Postman's primary use cases. You can test any API endpoint, check response formats, verify error handling, and debug issues before writing production code. Postman also lets you save request collections, create test scripts, and generate mock servers for comprehensive API development workflows.