How to Get a Shopify Access Token for Custom App Development
A Shopify access token is your gateway to programmatically managing your Shopify store. Whether you're building custom integrations, automating workflows, or connecting third-party applications, understanding how to get a Shopify access token is essential for any developer working with the Shopify platform in 2026.
This comprehensive guide walks you through the entire process of obtaining a Shopify access token, from initial setup through implementation. We'll cover both the manual method and show you how platforms like getshopifytoken.com can streamline the process.
What You Need
- A Shopify store (any plan: Basic, Shopify, Advanced, or Plus)
- Admin access to your Shopify store
- Understanding of your specific use case (inventory management, orders, customer data, etc.)
- Knowledge of which API scopes your application requires
- A secure environment to store and manage tokens
- Familiarity with REST APIs or GraphQL (depending on your implementation)
- Basic command-line or API testing knowledge (cURL, Postman, or similar tools)
Required API Scopes
API scopes define what your application can access and modify within your Shopify store. Selecting the correct scopes is crucial for security and functionality. Here are common scopes you'll encounter:
| Scope | What It Allows |
|---|---|
| read_products, write_products | Read and modify product information, including titles, descriptions, pricing, and variants |
| read_orders, write_orders | Access and manage order data, fulfillments, and order modifications |
| read_customers, write_customers | View and update customer profiles, contact information, and customer metadata |
| read_inventory, write_inventory | Monitor and adjust inventory levels across your locations |
| read_analytics | Access store analytics data, reports, and performance metrics |
Step-by-Step Guide
Follow these steps to manually generate your Shopify access token:
Step 1: Log Into Your Shopify Admin
Navigate to your Shopify store's admin dashboard. You'll need administrator privileges to create custom apps and generate tokens. Go to your-store.myshopify.com/admin and sign in with your credentials.
Step 2: Navigate to the Apps and Integrations Section
In the Shopify admin, locate the "Apps and integrations" section in the left-hand sidebar. This is typically found under the main navigation menu. Click on "Apps and integrations" to access the app management dashboard.
Step 3: Create a Custom App
Within the Apps and integrations section, look for "Develop apps" or "Create an app" option. Click on it and select "Create an app." Give your app a descriptive name that reflects its purpose (e.g., "Inventory Sync Tool" or "Order Export Integration").
Step 4: Configure Your App Settings
After creating the app, you'll need to set up its configuration. Provide:
- App name: A clear, descriptive name for your application
- App URL: The webhook or callback URL if applicable (can be left blank for private apps)
- Redirect URIs: Required only if your app uses OAuth flow
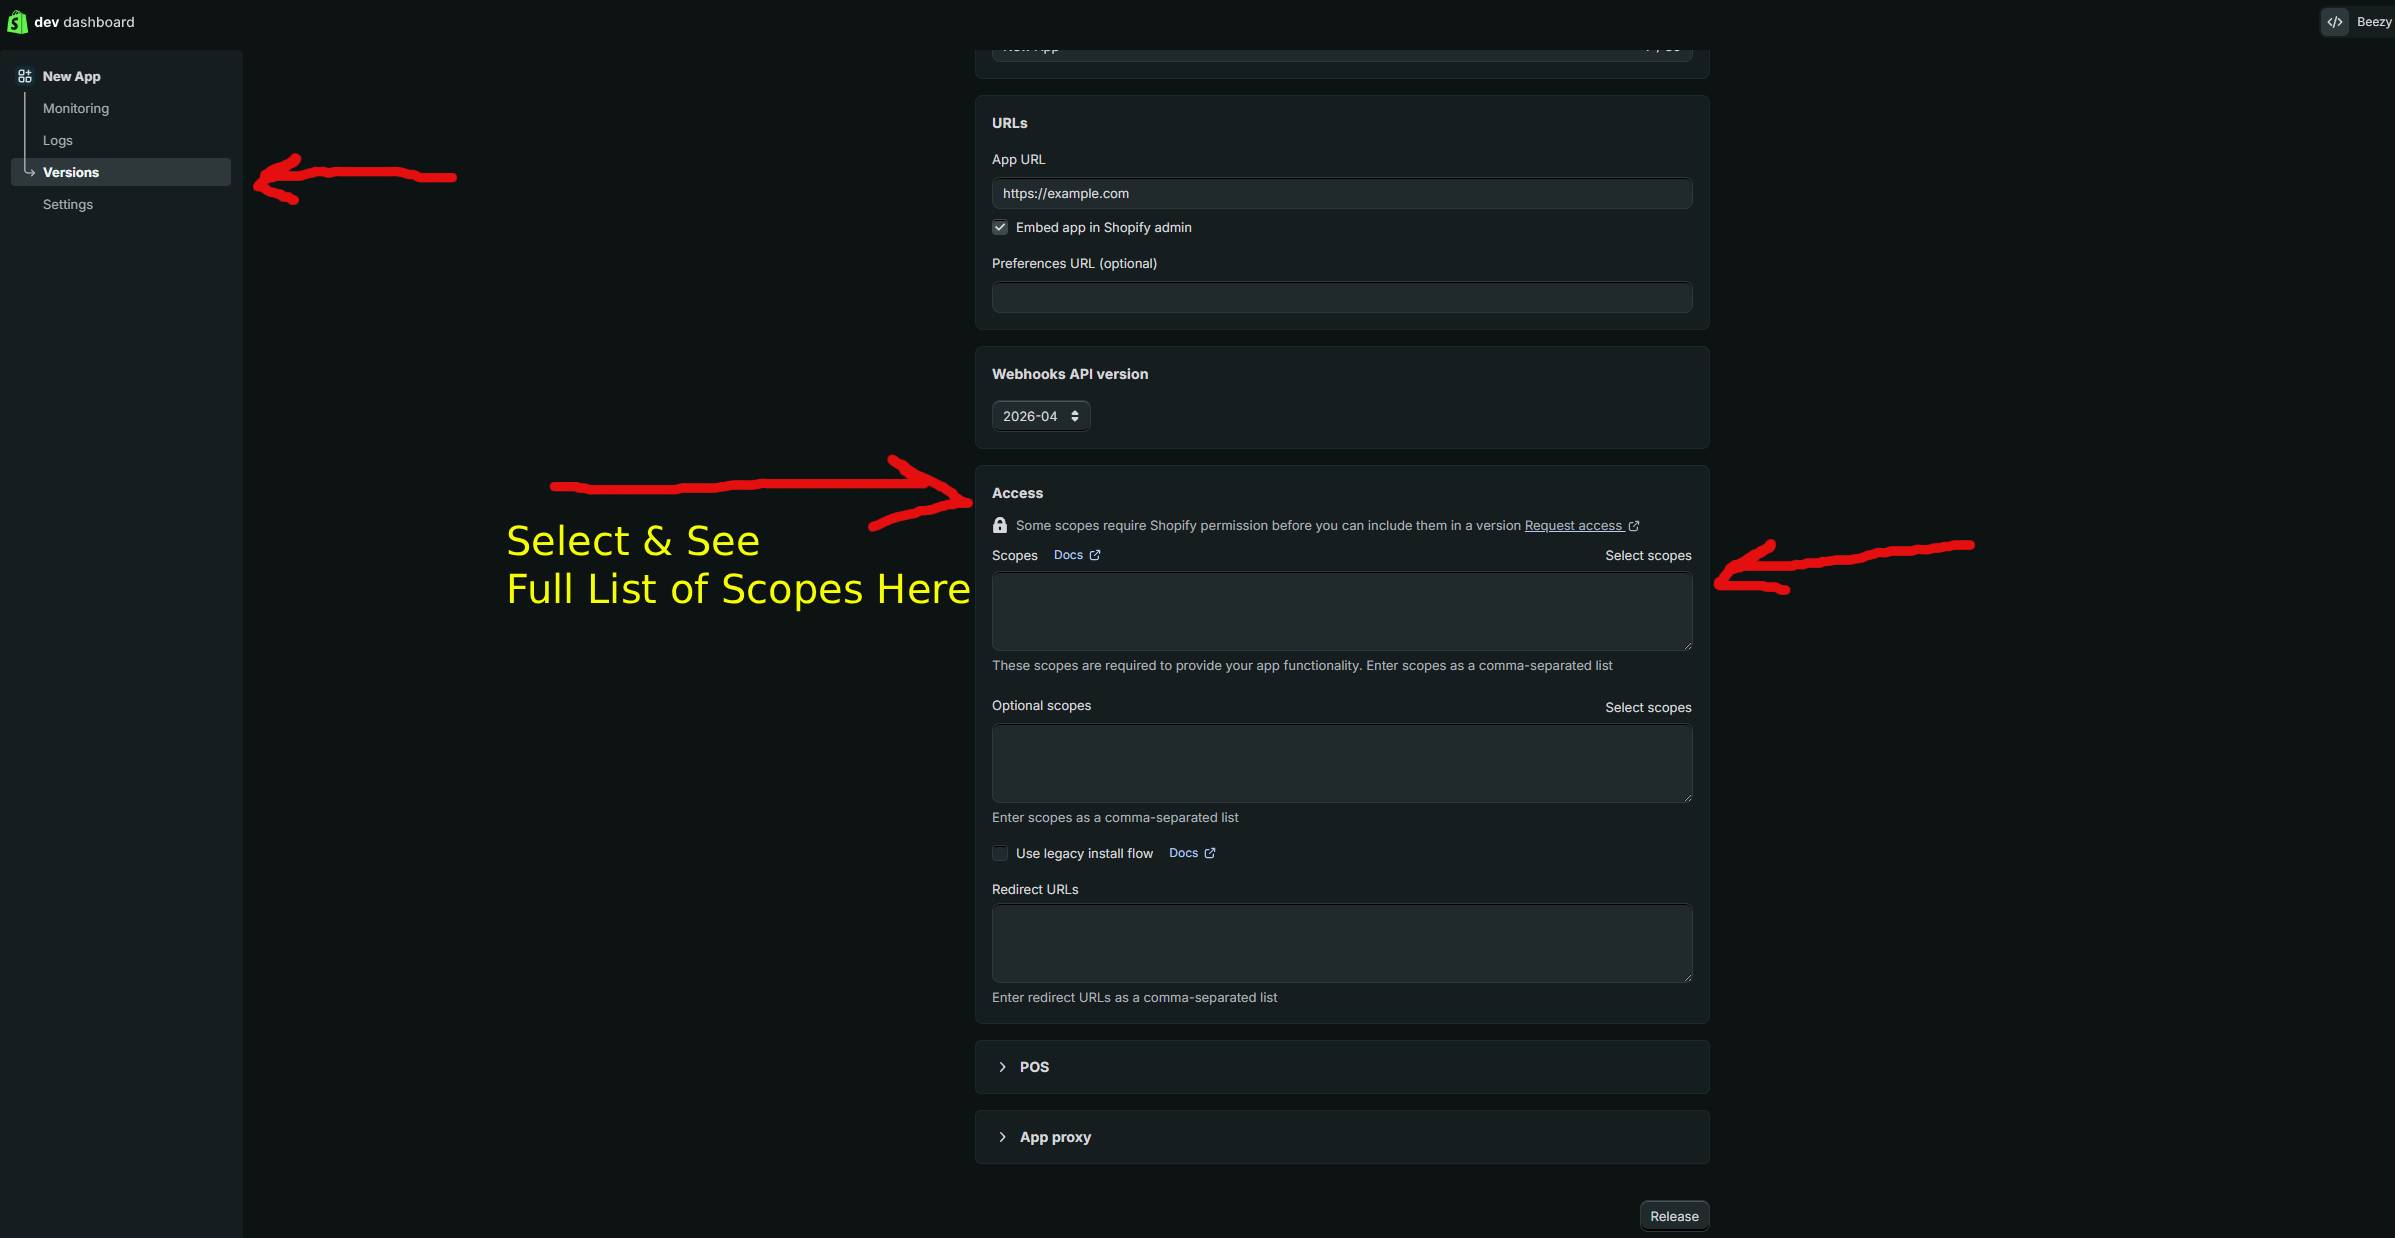
Step 5: Set Required API Scopes
This is a critical step. Click on the "Configuration" or "Admin API access scopes" section and select only the scopes your application needs. Follow the principle of least privilege—request only the permissions your app actually requires. Common scope selections include:
read_productsfor accessing product catalogswrite_ordersfor order management systemsread_customersfor customer data access
Step 6: Generate Your Access Token
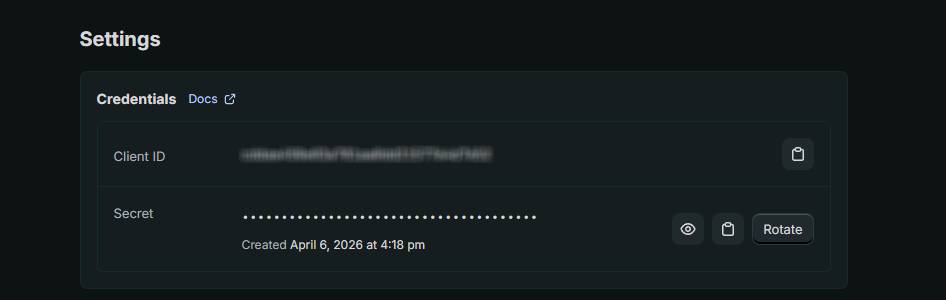
After configuring your scopes, save your settings. Navigate to the "API Credentials" section within your app settings. You'll see your:
- API Key: A public identifier for your app
- API Secret: Keep this private and secure
- Access Token: Your authentication token (only visible once)
Click "Generate token" or "Reveal token" to display your access token. Copy this token immediately and store it securely—Shopify will not display it again.
Step 7: Test Your Access Token
Verify your token works by making a test API call. Here's an example using cURL to retrieve basic store information:
curl -X GET "https://your-store.myshopify.com/admin/api/2026-01/shop.json" \
  -H "X-Shopify-Access-Token: shpat_your_access_token_here"
Replace your-store with your actual store name and shpat_your_access_token_here with your generated token. A successful response will return your shop's JSON data, confirming your token is valid.
Step 8: Securely Store Your Token
Never hardcode your access token in your application or commit it to version control. Instead:
- Store it in environment variables using a
.envfile - Use your application's secrets management system
- Implement encryption for token storage
- Rotate tokens periodically for enhanced security
Using GetShopifyToken (Faster Method)
If you find the manual process time-consuming or complex, getshopifytoken.com offers an automated solution that simplifies token generation. The platform streamlines the entire process, handling API scope configuration and token generation with just a few clicks.
Instead of navigating multiple admin panels and managing configurations manually, getshopifytoken.com provides an intuitive interface that:
- Guides you through scope selection with clear descriptions
- Automatically handles the token generation workflow
- Provides secure token storage recommendations
- Offers one-click verification of your token's validity
For developers and store owners who want to save time and reduce configuration errors, visiting getshopifytoken.com is an excellent alternative to the manual method.
Common Issues
- Token Not Displaying: Shopify only shows the access token once. If you missed it, you'll need to regenerate the token through your app settings.
- Invalid API Scope Error: Double-check that your requested scopes match your use case. Typos or deprecated scope names will cause failures.
- 401 Unauthorized Response: Verify your token hasn't expired and that you're using the correct format in the header (
X-Shopify-Access-Token). - Token Access Denied: Ensure the scopes you requested include permissions for the resources you're trying to access.
- Expired or Revoked Token: Tokens created for custom apps don't automatically expire, but reinstalling or deleting the app will revoke its token.
- Store Not Found (404): Confirm your store name in the URL matches your actual Shopify domain.
- Rate Limiting (429 Error): You're making too many API calls. Implement exponential backoff and respect Shopify's rate limits.
Related Guides
- Implementing OAuth Flow for Third-Party Apps
- Using Shopify GraphQL Admin API with Your Access Token
- Best Practices for Securing Your Shopify Access Tokens
- Understanding Shopify API Rate Limits and Throttling
Frequently Asked Questions
Q: How long does a Shopify access token last?
Access tokens created for custom apps in your own store do not have an expiration date. They remain valid until you manually revoke them by deleting or reinstalling the app. However, for security best practices, consider rotating your tokens periodically. OAuth tokens generated through third-party app flows may have different expiration policies—always check your specific implementation.
Q: Can I use the same access token for multiple apps?
No. Each custom app generates its own unique access token. If you need to consolidate multiple integrations, you should create a single app with all necessary API scopes rather than creating multiple apps. This approach is more secure and easier to manage than maintaining separate tokens across different applications.
Q: What should I do if my access token is compromised?
If you suspect your token has been compromised, immediately revoke it by deleting the associated app in your Shopify admin. Then create a new app and generate a fresh access token. Update all your applications and integrations to use the new token. Regularly audit your access token usage through your Shopify admin to identify any suspicious activity or unauthorized access attempts.
Q: Is there a difference between API Key and Access Token?
Yes. Your API Key is a public identifier for your app, while your Access Token is the authentication credential that grants API access. The API Key alone cannot access your store—you must include both the API Key and Access Token (or just the Access Token in the header) when making API requests. The Access Token is what actually authenticates your requests.
Q: Can I regenerate an access token without deleting my app?
For custom apps created in your Shopify admin, you cannot regenerate a token without deleting and recreating the app. When you delete the app, its associated token is revoked. You'll need to create a new app to generate a new token. Plan your token management accordingly to minimize disruptions to your integrations.