How to Get a Shopify Access Token for API Integration
A Shopify access token is the key to unlocking your store's API capabilities. Whether you're building a custom app, integrating with third-party services, or automating your store operations, understanding how to generate and manage access tokens is essential. This comprehensive guide will walk you through the entire process, from prerequisites to troubleshooting common issues.
In 2026, Shopify's API ecosystem continues to evolve with enhanced security features and refined scoping requirements. Getting an access token remains one of the most critical steps in app development and store integration, so let's dive into the details.
What You Need
- A Shopify store (either development or production)
- Admin access to your Shopify store
- A custom app created in the Shopify Admin or a registered Shopify app
- Basic understanding of API authentication concepts
- Access to your store's API credentials section
- A secure method to store and manage tokens (environment variables or secure vault)
- Understanding of which API scopes your integration requires
- A REST client or command-line tool (curl, Postman, etc.) for testing
Required API Scopes
Before generating your access token, you must define which permissions your app needs. Shopify uses scopes to control what data and actions your app can access. Here are the most common scopes you'll encounter:
| Scope | What It Allows |
|---|---|
| read_products | View product information, including titles, descriptions, images, and pricing data from your store |
| write_products | Create, modify, and delete products in your store, including variants and collections |
| read_orders | Access order data, including order details, line items, customer information, and fulfillment status |
| write_orders | Create orders, modify order details, add tags, and manage order fulfillment and cancellations |
| read_customers | Retrieve customer data including contact information, addresses, and purchase history |
Step-by-Step Guide
Follow these steps to generate your Shopify access token manually through the Shopify Admin dashboard.
Step 1: Log Into Your Shopify Admin
Navigate to your Shopify store's admin panel by going to https://admin.shopify.com and logging in with your admin credentials. You'll need full admin access to create or manage API credentials.
Step 2: Access the Apps Section
From the Shopify Admin dashboard, locate the "Apps and sales channels" menu on the left sidebar. Click on "Apps and sales channels" to expand the menu options. This section contains all app-related settings and configurations.
Step 3: Create a Custom App
Look for the "Develop apps" or "App and sales channel settings" option within the Apps section. Click on "Create an app" button. You'll be prompted to enter:
- App name: Choose a descriptive name for your app (e.g., "Inventory Sync Tool" or "Order Processor")
- App purpose: Select whether this is for internal use or to be distributed
For most custom integrations, select "Internal use" if you're building something specific to your store.
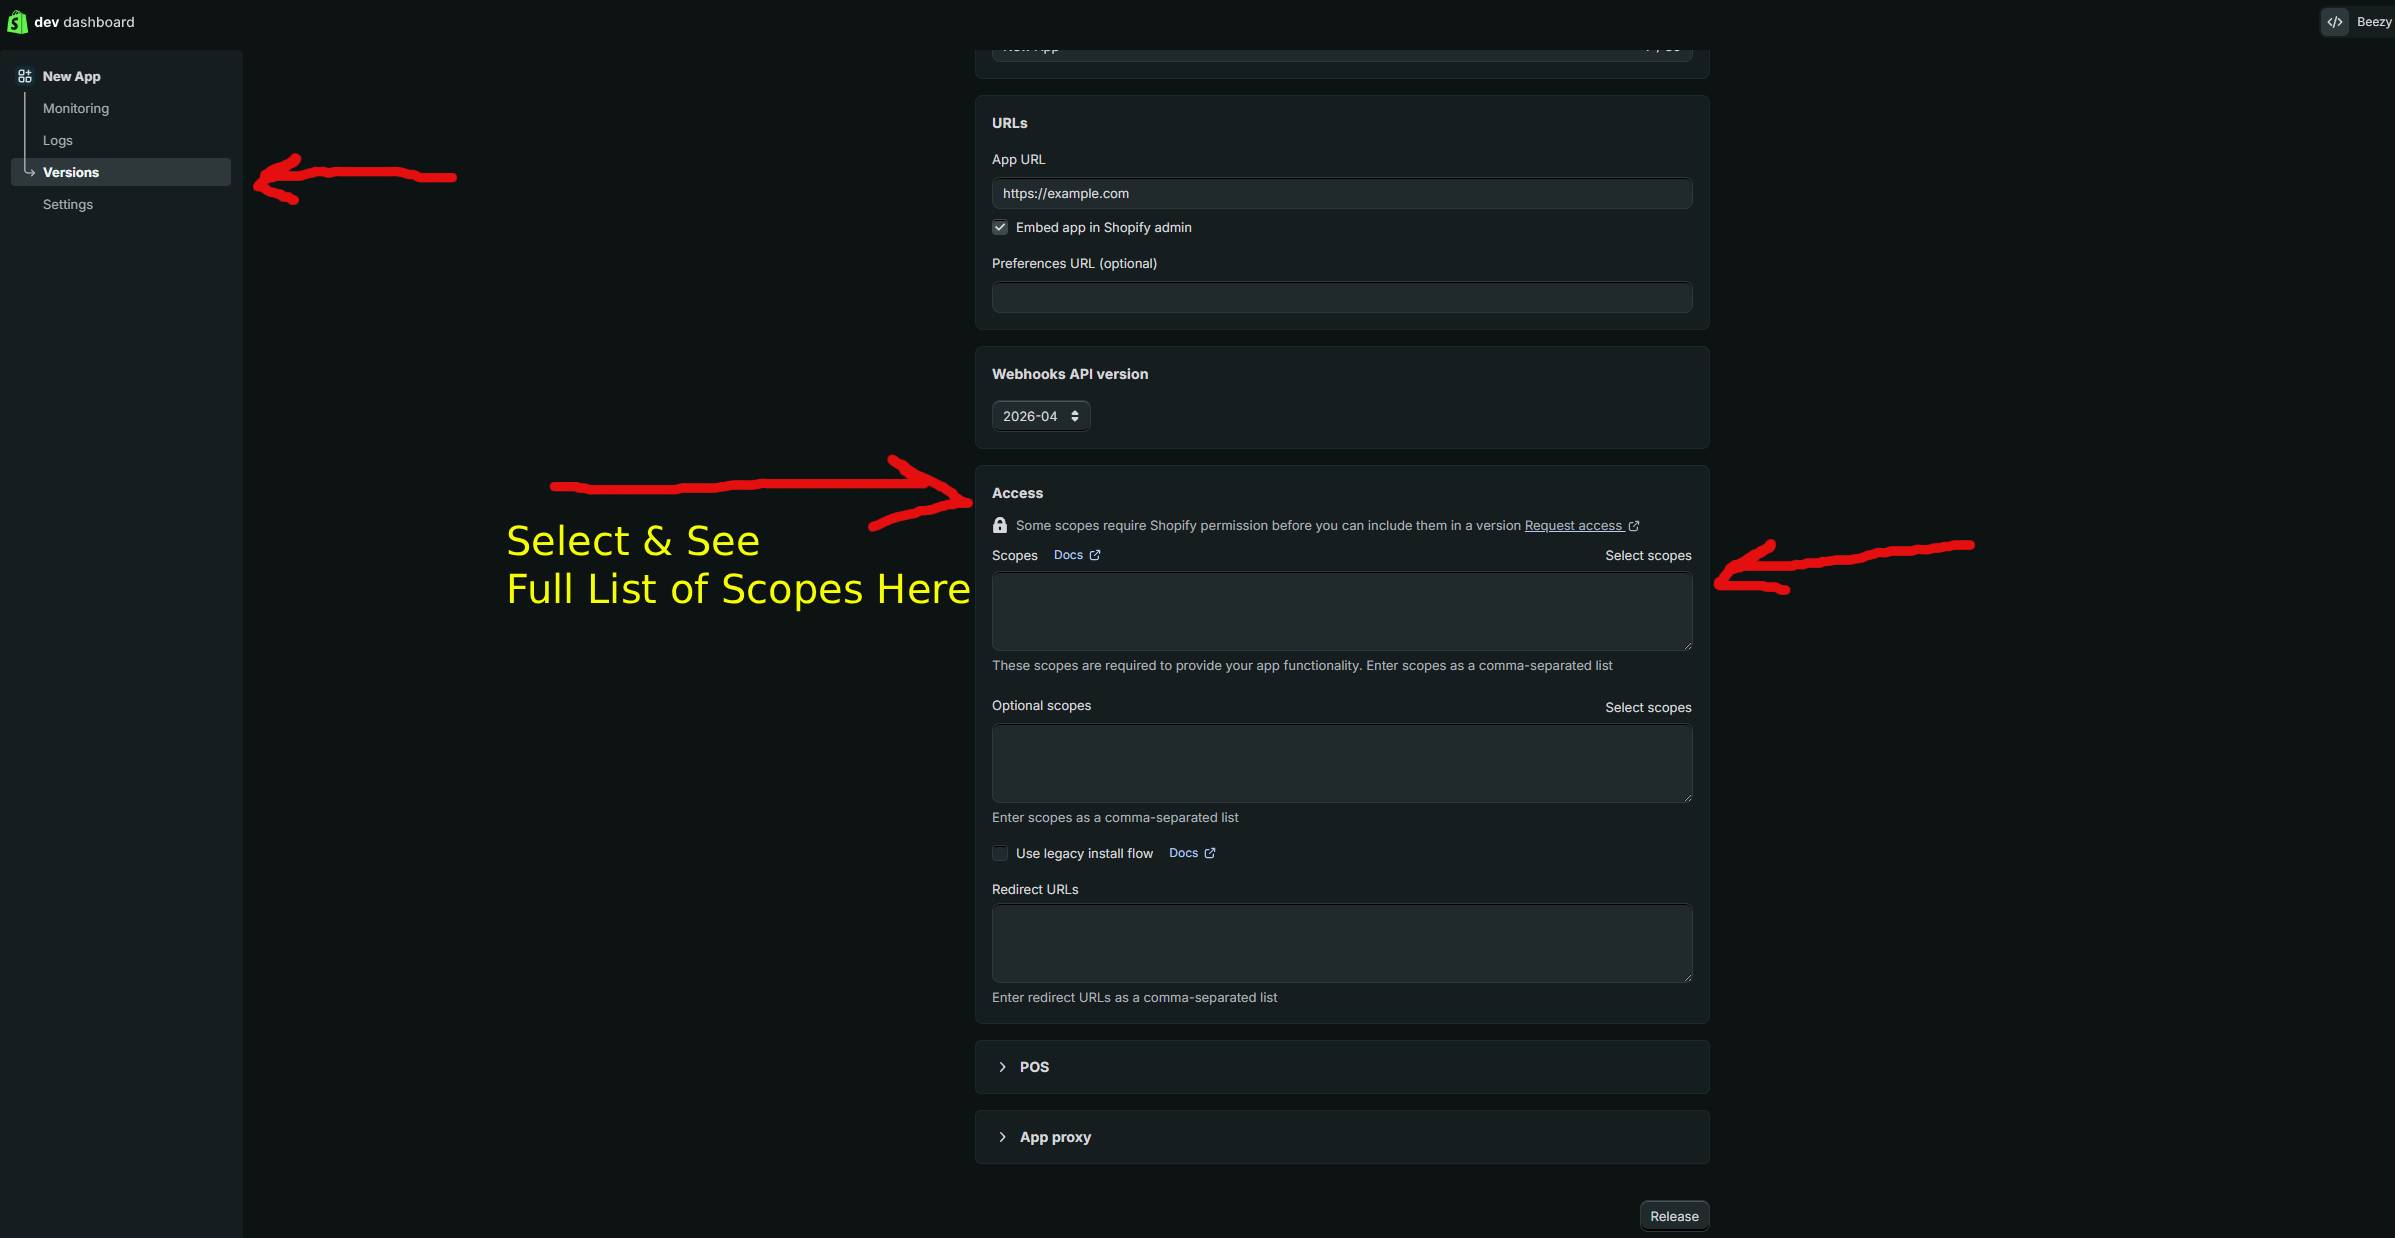
Step 4: Configure Admin API Scopes
Once your app is created, navigate to the "Configuration" section. Look for the "Admin API scopes" area. Here, you'll see a list of all available scopes. Select the specific scopes your integration needs. Only request the minimum required permissions—this follows security best practices and simplifies the approval process.
Check the boxes next to each scope you need. For example, if you're building an order management tool, you'd select both read_orders and write_orders.
Step 5: Save and Reveal Your Access Token
After configuring your scopes, click the "Save" button. Shopify will generate your credentials. You should now see:
- Admin API access token
- API key
- API secret
Important: The access token is shown only once. Copy it immediately and store it securely. You cannot retrieve it again if you lose it—you'll need to regenerate it.
Step 6: Test Your Access Token
To verify your token works correctly, test it with an API call. Use the following curl example to retrieve your shop information:
curl -X GET "https://your-store.myshopify.com/admin/api/2026-01/shop.json" \
  -H "X-Shopify-Access-Token: YOUR_ACCESS_TOKEN_HERE" \
  -H "Content-Type: application/json"
Replace YOUR_ACCESS_TOKEN_HERE with your actual token and your-store with your store's name. If successful, you'll receive a JSON response containing your shop information, confirming the token is valid.
Step 7: Secure Your Token
Never hardcode your access token in your application or version control system. Instead:
- Store it in environment variables
- Use a secrets management system (AWS Secrets Manager, HashiCorp Vault, etc.)
- Implement token rotation policies
- Regularly audit token usage through the Shopify Admin
Using GetShopifyToken (Faster Method)
While the manual process is straightforward, if you want to streamline token generation and management, getshopifytoken.com offers an automated solution. This service simplifies the entire token acquisition process, handling scope configuration and security best practices automatically.
The platform is particularly useful if you're managing multiple Shopify stores or need to generate tokens frequently. It reduces manual steps and minimizes errors in the token creation process. Visit getshopifytoken.com to explore how it can accelerate your API integration workflow.
Common Issues
Here are common problems you might encounter and how to resolve them:
- 401 Unauthorized Error: This typically means your access token is invalid, expired, or incorrectly formatted. Verify you've copied the token correctly and that it hasn't been regenerated. Check that you're using the exact token without extra spaces or characters.
- "Insufficient Scopes" Error: You're attempting to access an API endpoint that requires scopes you haven't configured. Review which scopes the endpoint requires and add them to your app configuration. You'll need to regenerate the token after adding new scopes.
- Token Not Appearing: Ensure you've clicked the "Save" button after selecting your scopes. Tokens only generate when changes are saved. If a token still doesn't appear, try refreshing the page or checking your browser console for errors.
- Rate Limiting (429 Error): Shopify enforces API rate limits. If you're making too many requests simultaneously, implement request throttling and backoff strategies in your code. Spread requests over time and use batch operations when available.
- Token Regenerated Unexpectedly: Tokens are regenerated when you modify scopes or manually trigger a regeneration. Always securely store the new token and update your application configuration immediately.
- HTTPS Required: All API calls must use HTTPS. If you're getting connection errors, verify you're using
https://in your API endpoint URLs, nothttp://. - Store Not Found (404 Error): Double-check your store name in the API URL. The format should be exactly
your-store.myshopify.com. Typos will result in 404 errors.
Related Guides
- How to Use Shopify GraphQL API: A Complete Developer Guide
- Shopify REST API Authentication: Best Practices for 2026
- Managing Multiple Shopify Access Tokens Securely
Frequently Asked Questions
Q: How long does a Shopify access token last?
Shopify access tokens don't expire automatically by date. They remain valid until you explicitly regenerate or delete them. However, we recommend implementing token rotation policies for security best practices, especially for high-security applications. You can manually regenerate tokens in the Admin panel whenever you need a new one.
Q: Can I use the same token across multiple applications?
Technically yes, but it's not recommended. Best practice is to create separate tokens for each application or integration. This allows you to manage permissions granularly, audit usage per application, and revoke access to specific apps without affecting others. If one token is compromised, only that specific app's access is at risk.
Q: What's the difference between a custom app token and a public app token?
Custom app tokens are for internal use within your own store and are created directly in the Shopify Admin. Public app tokens are used when building apps for distribution through the Shopify App Store. Public apps follow additional security requirements and use OAuth 2.0 for authentication instead of simple access tokens. Choose based on whether your integration is for your store only (custom app) or for multiple merchants (public app).